Bar muscle ups are an incredibly challenging exercise. Here are some timing tips to help you nail your BMUs.
Read More
Bar muscle ups are an incredibly challenging exercise. Here are some timing tips to help you nail your BMUs.

Even though a kipping bar muscle up is driven primarily by momentum and good mechanics, it still requires a good strength base to do them well and safely. These basic bent-arm pushing and pulling drills will help lay the foundation for the strength you need to kip to the top of the bar.
A bar and a rack. The lower you set the bar and more you elevate your feet the harder this exercise is.
Leaving your heels on the floor, pull your elbows toward the ground until your chest touches the bar. Keep your body in a hollow position, try not to stick your chest out. Hold here for time.
Jump up to a dead hang on the bar with an underhand grip. Squeeze your legs and abs to make a hollow body position. Pull your elbows toward the floor, trying to keep a long neck so you don’t hunch your ears around your shoulders.
Losing the hollow body position, letting the shoulders shrug up around the ears or being loose in the legs.
Set the rings low and form a hollow body. Do a push up as usual, noting that it may be more challenging to maintain the body line.
At the top, push hard into the rings so that your shoulder blades wrap forward around your ribs, and turn your biceps forward.
Jump up to a dead hang on the bar with an overhand grip. If possible, bring yourself into a pseudo false grip or full false grip by aiming the base knuckle or back of hand toward the ceiling.
Squeeze your legs and abs to make a hollow body position. Pull your elbows toward the floor, trying to keep a long neck so you don’t hunch your ears around your shoulders. Complete the rep when your chin clears the bar and descend with control. If you want more challenge, aim to tap your chest below your collarbones on the bar.
A pull up with your chest touching the bar, holding yourself there to gain strength in a commonly weak position.
Very likely, a resistance band (or several) – because these are tough and most of us need to scale them to accumulate any appreciable time in this position.
Pull up until your chest is touching the bar. Hold there for time, usually 15-30 seconds.
Use as many bands as you need.
Letting the chest lose contact and still counting the rep.
The easiest and usually smallest motion of the dip varieties, the bar dip primarily serves to get you used to the dip on the bar. We can build more strength with other variations but this is great for specific muscle up training.
From a support hold on the bar and in a hollow body, descend down until your chest taps the bar. Allow the elbows to travel behind you, try not to just bow to the bar. You will pike as you descend, that’s okay.
A dip variation that allows you to sink down between two boxes to explore a lot of range.
4 boxes or dip bars.
Dip down between the two boxes, keeping a tight body line.
Gymnastics rings, slung low enough to step or hop into
From a ring support, descend down between the rings without losing the hollow body position. At the top, rotate the biceps forward and make sure the rings are not touching your sides.
Try not to hug the rings too close to the sides for stability, especially at the top – this is part of embracing the challenge of the rings!
We have 3 variations of this in our kipping bar muscle up program:
Practice with the strict bar muscle up, even if you’re not quite ready for a strict bar muscle up without assistance.
Keep a tight hollow body, and dip low to reduce how far you have to transition. Go as slow as you can as your elbows rotate around the bar and don’t lose your hollow body. Descend in a tight line!
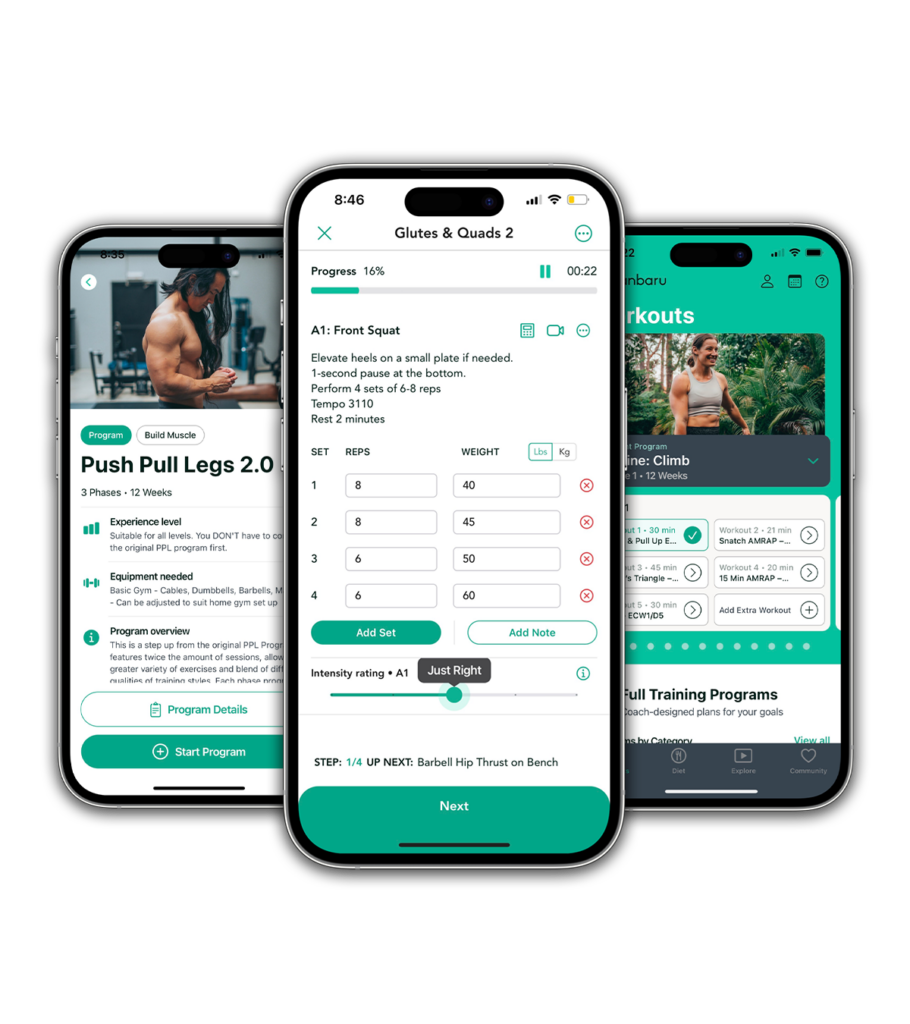
Follow proven programs written by expert coaches, delivered in an easy-to-use app built by lifters, for lifters.

The kipping bar muscle up relies on a strong swing and a powerful hip extension to drive you up over the bar. But the hip extension piece can be very confusing – all the other times you’ve aggressively extended the hips, you probably had your feet on the floor. We do hip extensions when we deadlift, olympic lift, kettlebell swing, and much more – but it’s weird to do a hip extension with your feet in the air and try to generate force from that movement.
The following is a series of hip extension drills that I use in varying contexts to get people to understand how to use an aggressive hip drive to generate movement and rotation on an axis. Some of them might click for you, others won’t – that’s okay! See which ones you feel you get an “aha” moment from and feel free to repeat them later in your BMU learning process if you think they are helpful.
The first 5 drills are simple, hip extension-only pieces to help you understand the extension of the hips and how you can use that to manipulate your body in space.
Lying on your back holding the dowel/broomstick overhand grip like a barbell, bring your knees toward your face with your legs as straight as is comfortable. Place the dowel on your ankles, shins or knees, then aggressively open the hips by squeezing the glutes, keeping yourself in a hollow body and tracing the dowel up the legs as you go. You should roll from your back into a seated position due to the force of the hip opening.
Lie on your back like the dowel drill above, then roll backward enough to slide the medball under your lower back (not bum – it needs to be higher than that). Repeat the same hip-close, hip-open movement by bringing the knees toward the face with relatively straight legs, then aggressively driving them open. You should flip over the top of the medball, landing in a seated position on the ball. You might roll off, but you’re not falling far – just be aware that it might happen.
Using the same hip motion as the previous two exercises, roll from your back into a seated position, catching yourself on the plates and continuously pressing down into them so that when you come over the top, your arms stay straight, and don’t bend much or at all.
Set a 2 thick bands in a rack above your knees but below your mid-thigh. Lie on the ground in front of the band and repeat the same motion as previous – knees to face, then explosive hip drive. Catch your legs (lower calf) in the band and maintain a rigid body line so that you land in the band and your whole body bounces without breaking position at the knees, hips or back.
With your heels elevated on a low box and your body hanging horizontally down below the rings, drop the hips toward the floor. Now explode them up with a powerful hip extension and control your body line to keep it horizontal by pulling the rings out wide. Only your heels, not your whole foot, should be on the box.
With your heels elevated on a low box and your body hanging horizontally down below the rings, drop the hips toward the floor. Now explode them up with a powerful hip extension and control your body line to keep it horizontal by pulling the rings out wide. Only your heels, not your whole foot, should be on the box.
The first 5 drills are simple, hip extension-only pieces to help you understand the extension of the hips and how you can use that to manipulate your body in space.
An early exposure to the muscle up movement: pulling your quads toward the bar, then aggressively driving the hips to create elevation through the hips and shoulders.
Set the bar low enough in the rack that you can reach it while sitting on the floor. Sit slightly in front of the bar. Rock forward, then rock back and pull your knees toward the bar while pulling on the bar with your arms straight. This should pull you behind the bar. As you are moving backward, quickly open up the hips to full extension and catch your feet on the floor.
The first and friendliest exposure to get you to hip extend on the bar: it’s friendly because your feet get to push into something (the band) which makes the concept slightly less foreign.
Loop both your feet into a relatively thick band, with legs straight. Swing slightly backward, then slightly forward, then as you shift backward form a hollow, swing through to your arch, and do the hip pop. The hip pop here will mean you lift your toes to just below the height of your chest, then aggressively drive the hips up and punch your feet down into the band aiming for the floor in front of you. As you do this, you need to push down hard into the bar with your arms straight. If you get the timing right, you will float up behind the bar with your shoulders higher than your hips.
An unassisted hip pop, but still gives you a target and a sense of grounding as you finish the hip extension. Set up two boxes either side of yourself behind the bar.
Jump to hollow, swing to arch, and begin the hip pop. Pull the toes to the height of your chest while pulling your shoulders behind the bar. From this position, extend the hips while still pushing down into the bar, catching your feet on the boxes in full hip extension.
As you get better at this, you can raise the height of the boxes so you are caching higher and higher
The “all grown up” version of the hip pops, the hips to bar is a precursor movement to the bar muscle up. To be able to turn over, you should be able to jump to the bar, initiate the hip pop and elevate yourself so you can easily see over the top of the bar, with your arms at least parallel with the bar.
Same as all your other hip pop movements – good timing, huge hip drive, and continuous straight arm pressure down into the bar.
Follow proven programs written by expert coaches, delivered in an easy-to-use app built by lifters, for lifters.
Even though a kipping bar muscle up is driven primarily by momentum and good mechanics, it still requires a good strength base to do them well and safely. These basic bent-arm pushing and pulling drills will help lay the foundation for the strength you need to kip to the top of the bar.
We have 5 variations of support holds in our kipping bar muscle up program:
Help you understand and build strength in the finishing position of a bar muscle up – there needs to be constant downward pressure on the bar. You also need to keep your neck long and make sure your shoulders are as far away from your ears as you can make them by pushing your shoulders down. This will engage muscles that will help you stay stable on top of the bar.
For all variations, follow along with the videos – but the themes will always be the same:
Set up a box just in front of the bar you’re working on. You should be able to stand with your heels directly below the bar and your toes are just touching the box.
Hop up to the bar, and place your toes on the box. Keeping your body tight so that your butt doesn’t shoot back, press down onto the bar with your arms straight. Do not let the elbows bend. You should pull backward such that your shoulders move behind the bar and your toes slide up the box.
Do not let your butt shoot back further than your shoulders. If you catch yourself doing that, try squeezing your glutes to stop it from happening.
Set a thick band up on a bar and climb into it with both feet in the band. Keeping a perfectly straight line from your shoulders to your toes, push down into the bar with your elbows locked as hard as you can. Your shoulders should drift behind the bar and the band will pull your feet up until you’re in a somewhat lever-like position.
Losing the hollow body position by extending the back excessively.
A good L-sit is a classic gymnastics foundational move because it challenges the triceps (helpful for a straight arm pull) and the abs (helpful for keeping a hollow body while moving through space).
With your hands next to your hips, squeeze the dumbbells or rings back so that your hip joint aligns with your wrist. You don’t want your hands next to your thighs – that means you’re not squeezing back hard enough.
Lock out the legs (if doing a full L-sit) or tuck the knees in close to your chest. The legs should be at least as high as the hips if not slightly higher. Press down into the rings or dumbbells so your shoulders are far away from your ears with a long neck.
If you’re on the rings, maintain constant pressure down, but try not to just hug the rings to your sides.
Follow proven programs written by expert coaches, delivered in an easy-to-use app built by lifters, for lifters.

The kipping bar muscle up is tricky for a lot of athletes at first. Having a solid base of understanding of how the movement works can help you figure it out quicker!
A true false grip on the bar isn’t necessary for a kipping bar muscle up, but some degree of it can be very helpful to make the turnover easier. Rather than a neutral grip where the second knuckle faces the sky as you jump up to the bar, rotate your hands over the top of the bar so that the base knuckle faces the sky and the second knuckle faces forward.
A lot of times, people make perfectly good arch and hollow shapes on the floor, but the second they jump to the bar they do nothing resembling those shapes. Starting by exposing yourself to making those positions before adding momentum can help bridge the gap.
I like starting with a beat swing because a lot of people’s kip swings are too loose and floppy to generate sufficient power. The beat swing is smaller, and asks for more control.
I like to see really long body shapes in the beat swing, resembling the hanging arch and hollow very closely. There is no room for a knee bend in a beat swing.
A kip swing that starts as a small beat swing and grows in size and intensity to whatever size you can control without losing the rhythm.
Starting from a dead hang, begin to make your arch and hollow shapes, then add rhythm to turn it into a beat swing. Start making more aggressive, larger movements to turn it into a larger kip swing. Use this movement to practice seeing how big you can make your swing while still keeping it tight. You may be tempted to bend the knees, but avoid this for as long as you can.
This video helps you understand how to efficiently jump to the bar to begin your BMU with some momentum.
Jump from one or two small steps behind the bar, not below it. Get your toes up FAST so that when you catch the bar you’re in (or on your way to) a pike position. Swing through to a powerful long arch, and patiently wait to start reversing out of the arch to push down onto the bar and pull your toes up to the height of your chest.
A simple drill to help you learn to use a straight arm pull on the bar to move your hips and shoulders behind the bar.
With a bar in a low rack, placed low enough that you can sit on the floor just in front of the bar, pull your knees to your chest and push down on the bar until your hips and shoulders glide behind the bar. You will have to push continuously, you will not get away with a push to leave the floor then swing.
A progression from the pull to stomp. There is also an intermediate step, the pull to pop, which adds the hip extension.
Does this teach the kipping bar muscle up perfectly?
No. Not a lot of things do. But it does help you understand the sequence of events and it can be useful for figuring out the pull to initiate a movement behind the bar, hip extension and turnover.
Begin initiating the movement like the pull to stomp, but extend the hips so that you catch the floor with your feet, then push to jump over the top of the bar.
A REALLY FUN drill that teaches you to keep a hollow body and pull aggressively on something with straight arms to glide behind the bar.
Start out the front of the bar with your bum or upper hammies sitting on the medball. Maintain a hollow body position. Aggressively pull on the bar with your arms straight (don’t let them bend!!!!) so that you slide over the ball, which will roll down toward your heels. You will then return back because the momentum will turn you around. Do this for reps until pulling with straight arms makes sense.
Do you need to incorporate this often?
No. This drill is just there to “explain” the straight arm pull. Once you’ve got that concept, you don’t need to do it (unless you want to just for fun, in which case, go for gold).
A movement that feels (and looks) a lot like a glide kip, which shares roots with a bar muscle up. The band will support you as you swing forward, then use your momentum to pull up and around.
To execute, set a bar in a low rack and secure it with more bands.
What are you supposed to get out of this drill?
Two things:
Use a thick band for these at first.
Sitting in the band with it placed below your bum at your upper hamstrings, allow yourself to swing your hips and shoulders in front of the bar. When momentum dictates that you should start swinging back, bring your toes or knees toward the bar to bring your shoulders and hips behind the bar, then extend the hips to float over the top of the bar.
Being good at these guarantees that you understand the pulling and pressing components of the BMU, and often results in a fuller hip extension. They’re not a cure-all, but they do help connect the dots for a lot of people.
A moderately useful drill that requires you to use the swing leg in a way that helps you over the top of the bar, since a lot of people aren’t strong enough to single leg jump their way to the top of the bar. (I am using your weakness to my advantage!)
With one leg on a box in a position you could jump to support from, descend down as if you were replicating your arch position on the bar. Leave the box leg grounded, and let the swing leg move behind the bar as you arch. Then, reverse the position back to your hollow and allow the toes on the swing leg to rise up to chest height before aggressively opening the hip to make your body straight at the same time as you jump from the box to the support position.
The box does two things:
Using bands for kipping bar muscle up regressions comes with their own set of pros and cons and I generally prefer to use them sparingly. But they do provide a tactile cue to push down into especially for people who struggle to extend the hips if they’re not pushing into something.
Technique
It’s the same as your usual bar muscle up, but you’ll need to be more patient as you reverse from the arch back to the hollow. Wait for momentum to dictate your change in position, don’t try to beat physics because you will make it very hard for yourself.
The bar muscle up!
If you’re banding them, just make sure you do some practice without them as well. That could mean doing more hips to bar (hip pop), movements from the box, or hip pops to the box, but try not to let all your practice be banded or you could end up hamstringing yourself with progress later on.
Follow proven programs written by expert coaches, delivered in an easy-to-use app built by lifters, for lifters.