Fat loss and weight loss are common goals for many. It doesn’t have to be scary or complicated. Here’s a fool proof guide to losing weight and fat.
Fat loss and weight loss are common goals for many. It doesn’t have to be scary or complicated. Here’s a fool proof guide to losing weight and fat.
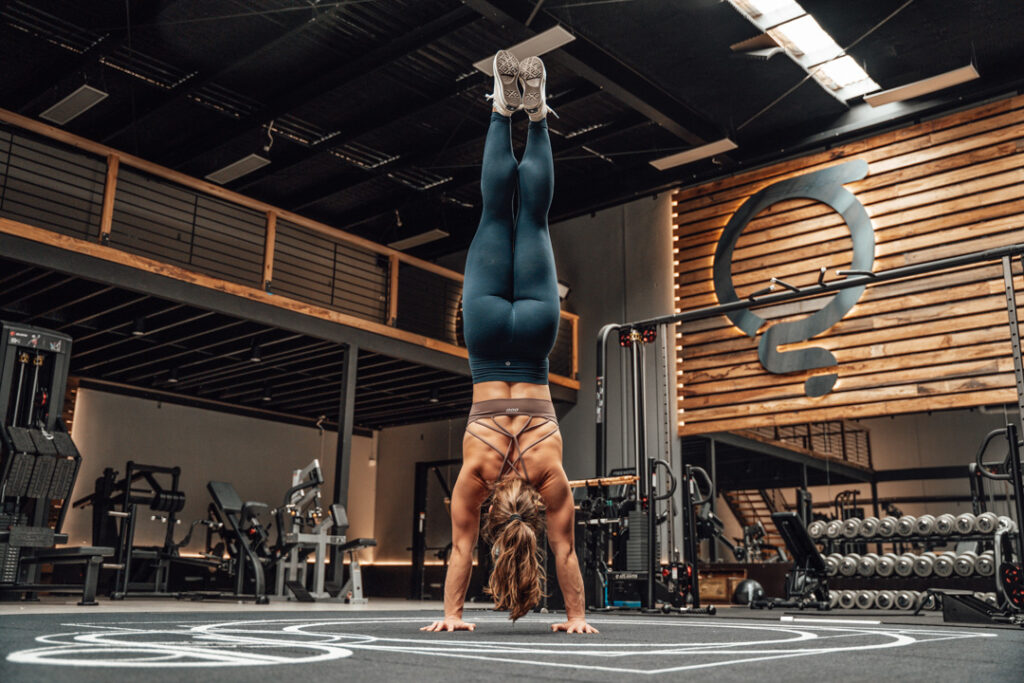
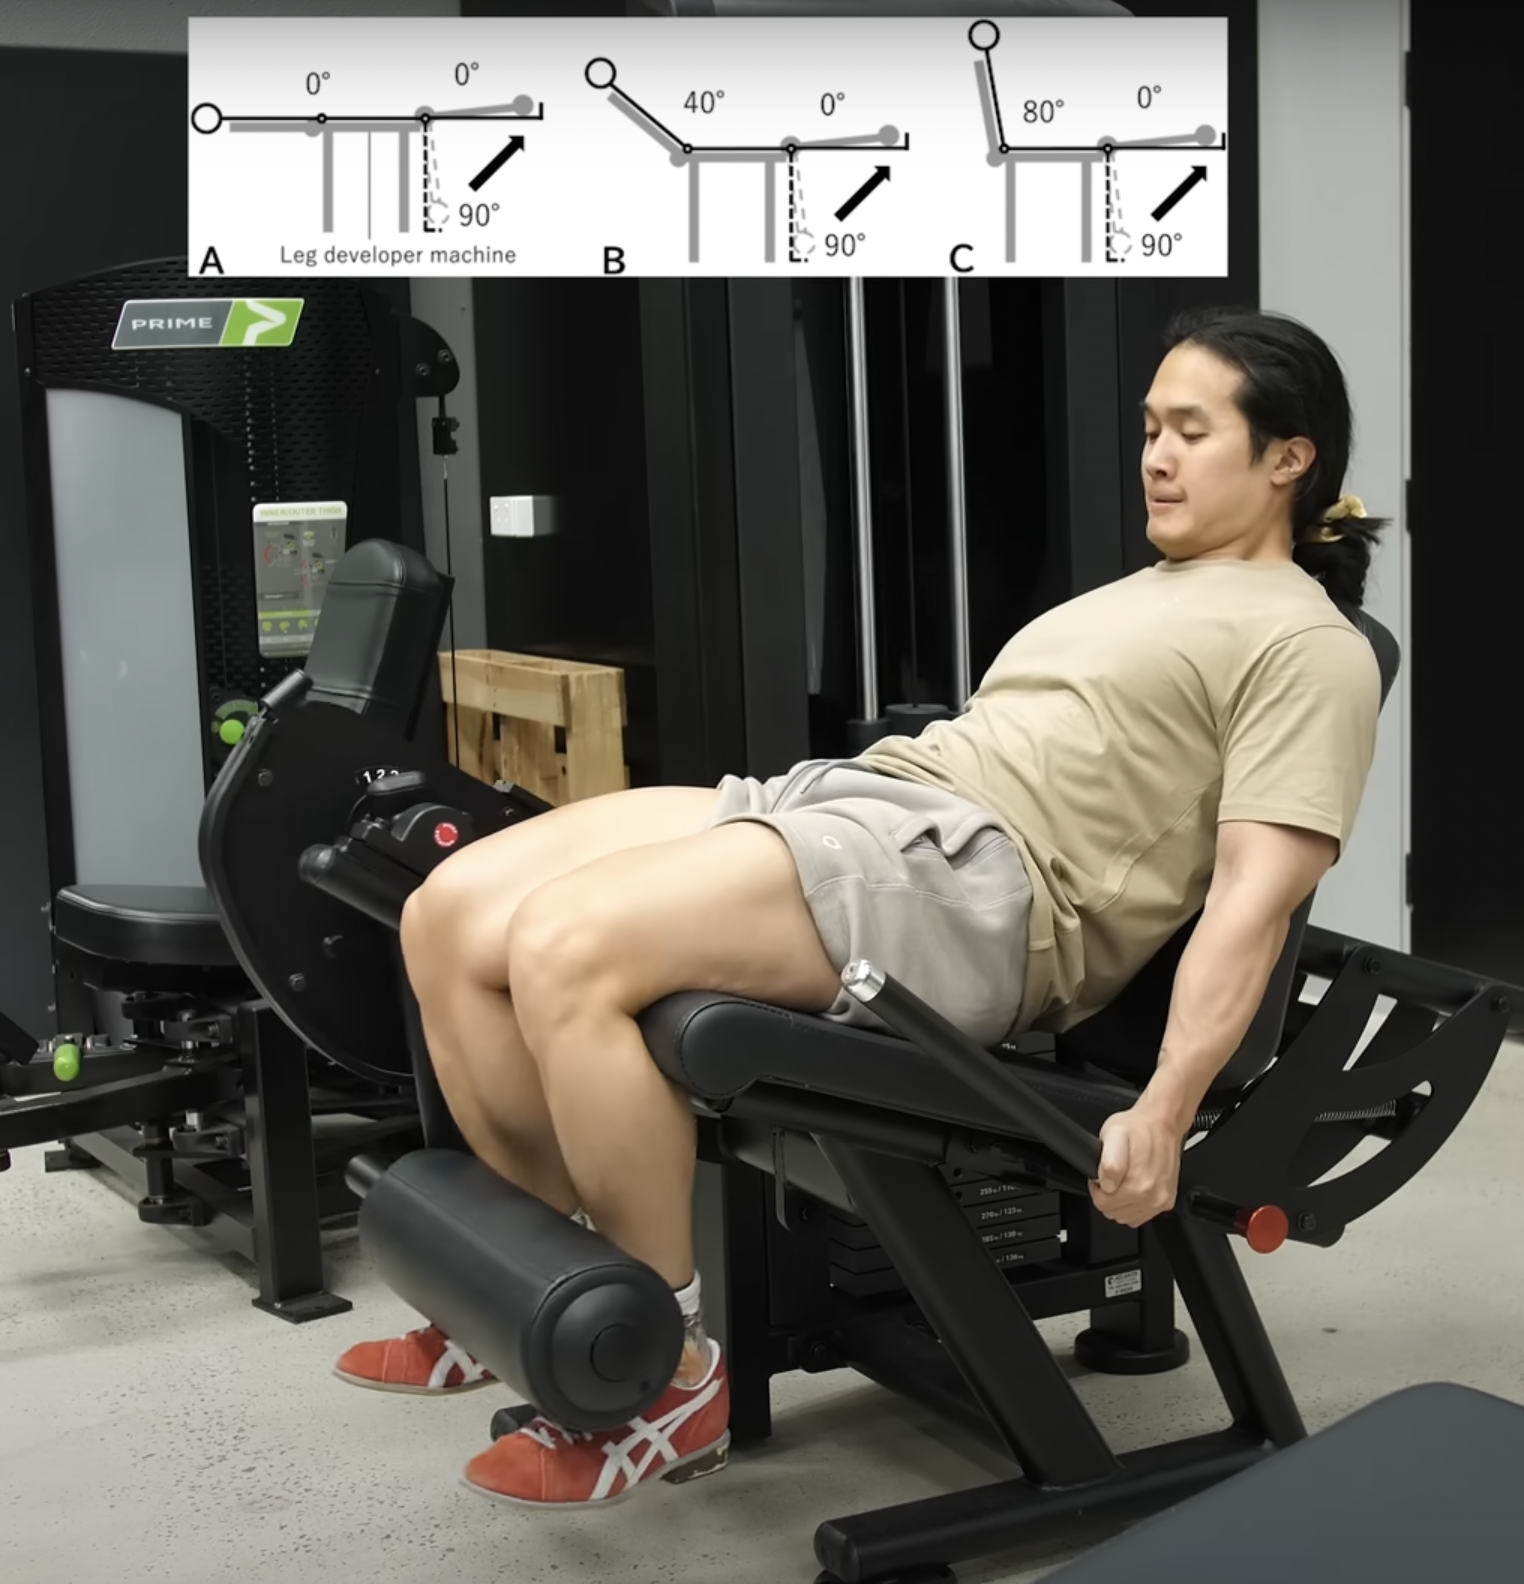
The “stack” is a handstand concept that involves your head, shoulders, ribs, hips, knees and toes all being in a straight line from top to bottom.
Lots of us chase improvements in the stack as a desirable handstand shape. It allows us to explore other handstand movements and is therefore often considered the gold standard for basic handstand shapes.
Getting good at the stack requires an understanding of how the head, ribcage, and pelvis influence each others’ positions, as well as strength and mobility to create space through the shoulders.
The following drills aim to help you understand your stacked position by promoting alignment of the head, pelvis, and ribcage. It will also help teach you to push into the floor and find the right amount of tension.
A simple explainer drill on the floor to help you understand how the head, pelvis and ribcage influence each others’ shapes and positions.
Lying flat on the floor with your knees bent and feet flat, aggressively tip your pelvis forward in a way that arches your back. Feel how your ribcage pops up and open, and how your chin tucks to accommodate the movement against the skull. Pull the pelvis in the opposite direction and exhale fully like you’re blowing up a balloon. Notice how the ribs are now flush with the abs, and the head has tilted back up to neutral or slightly extended.
This exact movement also happens in a handstand. It’s why it’s important not to overreach the head, or extend the spine if you’re aiming for a stacked handstand. We can gently pull the ribs down and keep the head just slightly tilted up without affecting the whole system, but jutting the head out or flaring the ribs substantially will impact the rest of the body line.
Forcing the issue – this movement should be able to work with fairly gentle nudges in either direction.
This movement helps understand and encourage an “active shoulder,” or the intentional push into the floor that elevates the shoulder blades in a handstand to create more space and a more open shoulder angle.
Climb your way into a pike on a box, either with straight or slightly bent legs. Press hard into the floor to elevate the shoulder blades as hard as you can (imagine you’re shooting your bum up to the sky higher than it is now). Then, sink down into the shoulder blades so your whole body moves toward the floor. Repeat.
Keep this active shoulder position in your handstand holds and walks!
A drill that helps you figure out how it feels to be in the stacked position in a handstand.
Bow at the hip with a straight back until your torso is parallel to the floor. It’s okay if you have to bend your knees to allow that. Reach your hands to the wall and walk in until your hands and feet are firmly planted – hands on the wall, feet on the floor – with your hip bent at a 90 degree angle. If you looked from the side, it should be as if you’ve drawn a square with your torso, legs, floor, and wall.
Now, switch the hands and feet. Put your feet on the wall where the hands were, and walk your hands in to wherever your feet were previously. It might feel a lot more cramped or even scary than you expected – but your hips should be right over the shoulders and hands.
A position that forces you to fight gravity to find the desired shape.
Walk your feet partially up the wall into a wall-facing handstand, or halfway up a wall walk if that’s familiar to you. In this position, pull your mid and low back toward the ceiling while pushing into the floor like in your pike shrug. Your body should be long, and your ribs should be tucked away with no sag in the lower back.
You may have to shift your feet slightly further up the wall if this has created more length in your body. Hold this position, it may feel a little burny in your abs and shoulder muscles.
Exactly like the above, but with the added challenge of having to work against movement by walking side to side.
From your 45-degree handstand position, step your hands and feet to one side for a few steps. Then do the same reverse. Don’t let your lower back sag or let your hips wobble excessively as you step. Keep both hips facing the floor as much as you can.
A drill to help solidify the technique and position of the 45-degree handstand and carry over all the important pieces into a vertical handstand on the wall.
From your 45-degree position, step the hands in toward the wall until you’re in a wall-facing handstand. Walk back down to your 45-degree position and check whether you’ve lost any of the pieces you needed to keep (ribs flat to abs, long body, and pressure into the floor). Walk back up and repeat for reps.
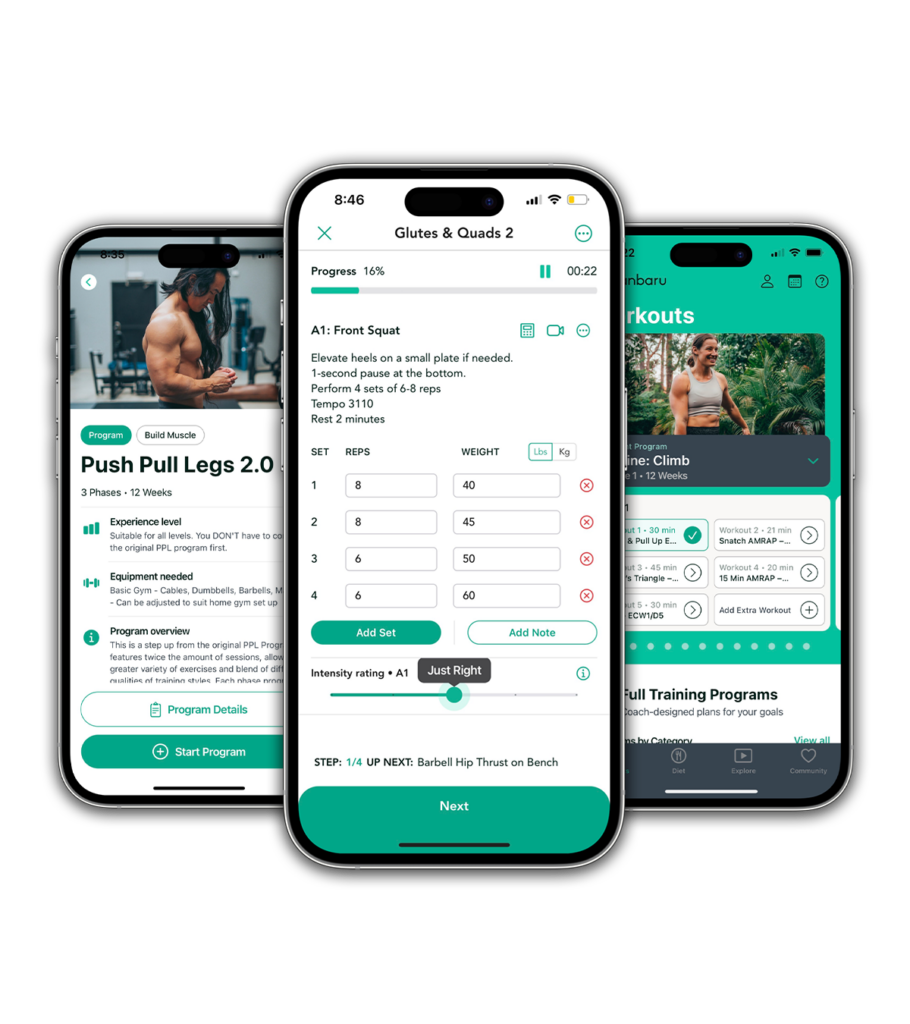
Follow proven programs written by expert coaches, delivered in an easy-to-use app built by lifters, for lifters.
Let’s move past boring old planks! While they have their place, we can also spice them up and add elements to challenge your abs and involve other muscles to help you get full-body strong. These gymnastics ab exercises will help you improve your strength as well as your coordination.
A small, light band, and something to attach it to (like a heavy dumbbell or kettlebell, or an upright on the rig or squat rack.
Stretch the band out and lie down with your back on top of the band. It should be placed directly below your belly button or slightly lower. You should have to push your lower back down into the band to prevent it from snapping away from you.
Reach for the sky with your hands, pulling your bottom ribs down toward your hips. Then lift the feet off the floor into a tucked position without losing the pressure down into the band.
Extend the arms up and the legs out as far as you can WITHOUT losing any pressure down on the band. this tucked position is important to achieving a good hollow body position. Hold this position for as long as you can – it should feel burny on your abs!
The most common mistake is losing pressure into the band and letting it slide away as the set goes on. Another mistake is trying to reach too far, too soon – it’s okay if you need to be tucked for a while until you are strong enough to do the full hollow body in the correct position.
The planche pulse is a gymnastics drill that strengthens your abs, shoulders and wrists while improving your ability to maintain tension in a rigid plank position. It forces you to manage the force of the band throwing you out of position so that you have to maintain your body line. And it’s fun!
You’ll need 1-2 thick resistance bands, and a squat rack where you can set the j-hooks at mid-thigh height.
Climb into the band so that both feet are together. Initiate the first pulse by kicking off the band slightly, or driving the hips down. Now, make your body rigid from the shoulders down as you bounce up and down in the band. Increase the amount of bounce by pushing down into the floor, getting your shoulders further over your hands, and by slightly whipping your legs down into the band. You will have to be super tight as you stretch the band downward otherwise the rebound will break your body line.
Not staying tight! Lots of people break at the hip in this drill, or try to use the hips for momentum – this is a movement that the shoulders initiate and the abs prevent movement. Think of being in a plank, and only your shoulders change where they are.
Like the planche pulse above, this drill forces you to maintain your position with your abs while other things are moving around.
A 20″ x 24″ x 30″ box that doesn’t totally collapse under force (wood is good, or a firm plyo box).
Maintaining a hollow body (slightly crunch your abs) in your plank position, lift one foot at a time. See how little you can shift from left to right while you do this.
Shifting too much from side to side so that the hips wobble. Your hips should stay square to the ground.
Letting the lower back sag – you should be slightly crunched down and tight when you do this movement.
Planking in a resistance band (which is wobbly and unstable), forcing you to create extra tension to resist movement as you shift from one hand to the other and back.
You’ll need 1-2 thick resistance bands, and a squat rack where you can set the j-hooks at mid-thigh height.
Maintaining a hollow body (slightly crunch your abs) in your plank position, lift one hand off the floor at a time. Your body will shift left to right, but try to keep your hips and chest pointed straight at the floor while you move.
Losing tension – make sure you stay in a hollow body all the way through this exercise.
Exactly like the above – but instead of your arms moving, it’s your legs this time!
Maintaining a hollow body (slightly crunch your abs) in your plank position, lift one hand off the floor at a time. Your body will shift left to right, but try to keep your hips and chest pointed straight at the floor while you move.
Losing tension – make sure you stay in a hollow body all the way through this exercise.
A core compression exercise – training your lower abs in a lot of spine and hip flexion.
With your legs flat on the floor in front of you, place your hands next to your knees. Keeping the hands flat down and legs straight, lift one leg off the floor. If that’s too hard, bring the hands further back closer to your hips.
Stay hunched over – don’t lean back as you lift!
Exactly like the above – but this time you’re going to lift both legs! Keep them straight and try to stay curled over to get some lower ab and hip flexor muscle action in this movement.
A core compression exercise that helps you figure out how to push into the floor and close your hip angle. This brings your feet closer to your hands and engages the lower abs.
With your legs wide, place your hands out in front of you. Lean your shoulders and hips as far as you can over the hands. This should make your feet feel like they are lighter on the floor than before. Push into the ground to make them feel even lighter. Now, drag the feet closer to you until they are in line with your hands. Walk your hands out again, and repeat.
I normally hate a Garhammar raise because all I feel is lats, but the barbell adds stability that I find much easier to manage than a typical Garhammar. The higher the incline, the harder this is.
Set a bar in a rack and a bench on an incline. Make sure your arms can be straight reaching up to the bar. From here, peel one vertebrae off the bench at a time until only your upper back and shoulders are left on the bench.
A gymnastics classic for training abs with a small compression component.
Pressing your lower back into the floor and pulling your lower ribs and belt line toward each other in a small crunch, reach your hands and knees toward the sky. Then reach your hands as high over your head and your legs as close to straight as you can, without the lower back losing contact with the floor. If you can’t extend that far, extend as far as you can without losing that position on the ground.
A scaled up version of the hollow body hold. Attempt these once you’ve got a solid 30-60 second hollow body hold.
From your hollow body position, rock back and forth, making sure one vertebrae at a time rolls across the floor.
A scaled down version of the hollow body hold. Do these to find your way into the hollow body if the holds were too difficult.
From a lying down position, lift into the hollow body position, then return. Do as many lifts as you can, extending the duration at the top as you get more proficient at the hold position.
Follow proven programs written by expert coaches, delivered in an easy-to-use app built by lifters, for lifters.