You need a few things for a good kick up to handstand.
- A gentle push into the floor with the grounded leg
- A gentle sweep of the leading leg
- A shift of weight from the feet into the hands
- The right around of push + sweep to result in the hips being placed over the hands as gently as possible
- An intent from the hands to catch the force moving over the top to prevent an overbalance
- Balance in the hands before closing the legs, or enough reps to know how much extra momentum the leg closure will add to the system
And there are a few things that hamper our ability to control a kick up.
- Excessive force and momentum (i.e. throwing the hands down and pushing hard)
- The hips starting very far away from where they will finish when stacked over the hips
- Weak, intention-less hands with no effort to manage motion
- Rushing to close the legs, adding momentum
We can work on these components by playing around with different variations and challenging different positions. The drills below give you different components of the pieces we want and constrain you away from some of the things we don’t want. Practice a few of these and see if they help your kick up!
Kick Up from Box to Wall
What is it?
The easiest kick up drill because it brings the hips over the hands before you have to push into the floor.
Technique
Place a small box (20″ or less) close to a wall so you can elevate your foot onto it with your hands placed near the wall ready to handstand. Sweep the leg up until it taps the wall behind you gently and you briefly float off the box with the grounded leg. Repeat. Only push very gently with the foot on the box, and focus on getting your hips over your hands rather than what’s going on with the feet.
Common Mistakes
Throwing the legs aggressively at the wall. Be gentle!
Wall Kiss Kick Ups
Technique
Like the above but without a box, push into the floor with the grounded leg and sweep the leading leg up just hard enough to gently tap the wall with the leading leg’s heel, then come back down. Repeat for reps. Focus on figuring out how hard you need to push to get your hips over your hands, not the feet.
Sprinter Kick Up to Wall
What is it?
The sprinter stance starts you with your hands and feet on the floor to reduce places you can add unnecessary momentum in your kick up.
Technique
With both hands and one foot on the ground, kick up gently into your handstand. You can close the legs, but don’t rush it! As always, just push hard enough to get the hips over the hands, rather than thinking about getting the feet up to the sky.
Sprinter Stance Kick Up
Exactly as above, but get off the wall and do it out in the open. Use your fingertips pressing into the floor as “brakes” so you don’t tip over the top.
Kick Up to Wall
What is it?
A place to kick up without the feeling of risk in the open, and a guaranteed stopping point.
How to use it better
Imagine the wall is not there. How would you change the amount of force you’re using to kick up? How would your hands behave as you got closer to getting the hips over the hands?
Anti-gravity kick ups
What is it?
A way to gently explore the amount of kick required to enter a handstand.
Technique
Starting in your sprinter stance, deliberately undershoot the kickup, and kick slightly harder each time you fall down until you spontaneously catch a float in the handstand or overbalance. If you overbalanced, try again with a little less force, and dig your fingertips into the floor to stop going over. If you float, see if you can recreate that amount of force.
Donkey kick to tuck handstand
What is it?
A good way to take the legs out of the kick up and focus on the hips-over-hands component.
Technique
Starting with your feet and hands on the floor, jump your feet off the floor into a tuck handstand. Don’t extend the legs up, just stay in the tuck and come back down. Start with small jumps and increase until you get a moment where your hips hover over your hands to learn how hard to push.
Kick up to hanstand in rack
What is it?
A way to kick into something that’s less forgiving than the wall.
Technique
Set 1-2 strong resistance bands in a rack at the height of your head. Kick up into it, trying not to let yourself fall into the band, but rather catch yourself in the hold. If you do fall into the band, see if you can gently shift your way out of it back into your hands. Try again until you hardly touch the band at all.
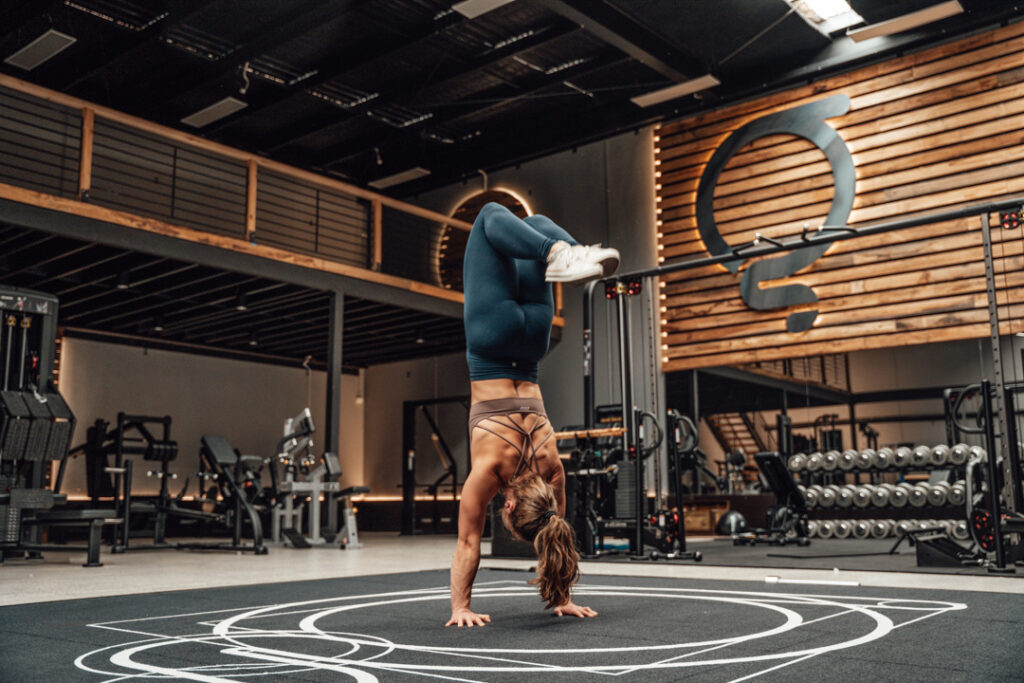
Kick up to handstand
Now combine all that you’ve learned above.
- Get the hips over the hands as a priority
- Be gentle as you push into the floor and sweep the leg
- Grip the ground as you arrive in the handstand
- Don’t rush the legs closed, spend time in the float if you catch one and remember how much force you used so you can recreate it next time!
Ready to workout?
Follow proven programs written by expert coaches, delivered in an easy-to-use app built by lifters, for lifters.