Most early handstand drills start on the wall – because we need help with the balance component at first. One of the mistakes beginners make with this is letting the wall take a lot of their weight. These drills will help you feel what it’s like to shift your weight into your hands instead of the wall.
Do them with the intention of putting as little weight into the wall as you can, using the wall gently for balance only.
Handstand Hold on Wall
Technique
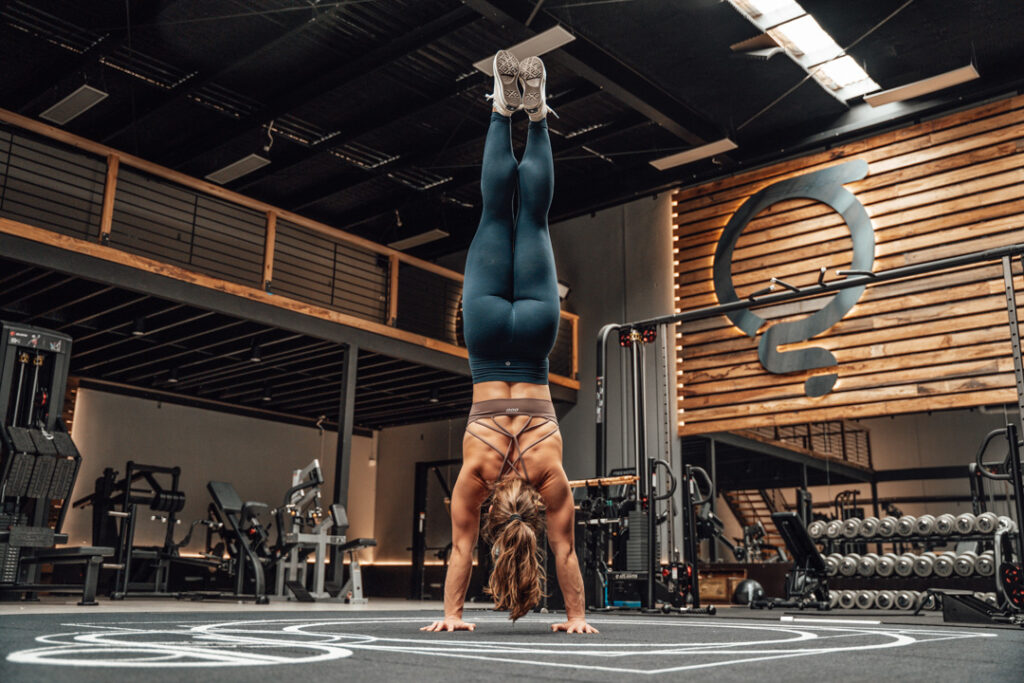
Kick up to a handstand on the wall. Focus on the following:
- Pushing into the floor to get as tall as you can, and open the shoulder as much as you can
- Gently squeeze the glutes and pull the ribs down toward your belt line to avoid letting the lower back extend. Only your heels should be on the wall
- Grip the ground by pushing your fingertips into the floor
- Shift your body weight over your hands instead of letting it rest into the wall. Touch the wall as lightly as you possibly can.
Common Mistakes
- Letting the low back sag and form the “banana back” position.
- Letting the butt or legs touch the wall
- Letting the hands be lazy into the floor instead of gripping the ground to pull weight off the wall
- Relaxing into the shoulders and sinking down toward the floor
- Squeezing the abs too hard – this will take away from your ability to push into a strong shoulder position, unless you have very impressive shoulder mobility
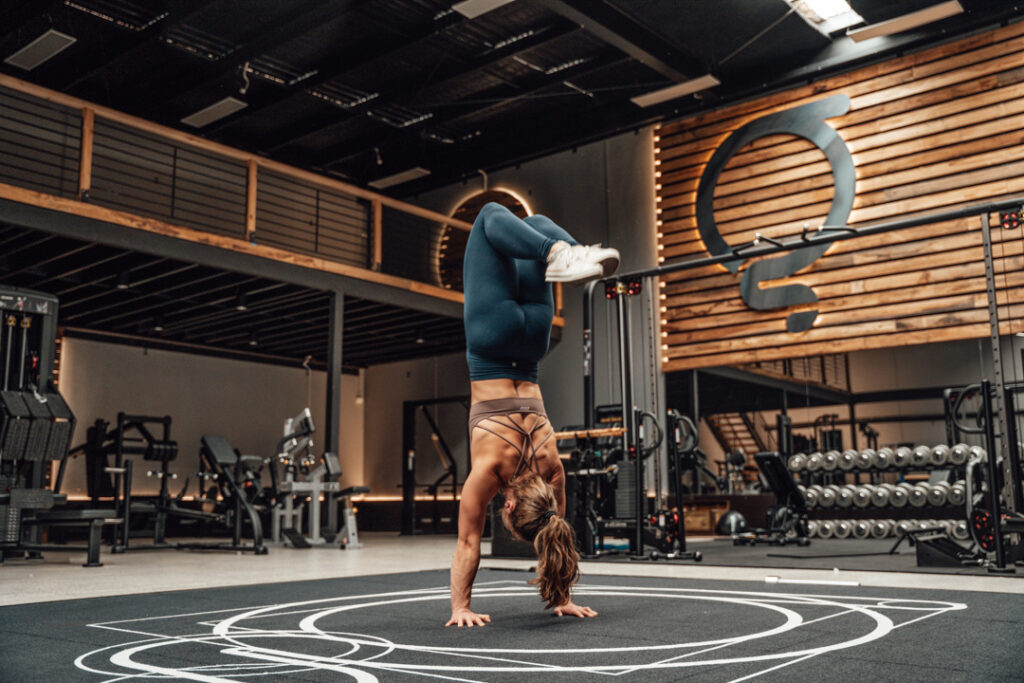
Handstand Hold on Wall – chest to wall (wall facing)
Technique
The wall facing handstand on wall is harder to get into but is easier to keep a strong body line in. Use this opportunity to focus on keeping the ribs and belt line as close together as they can be without losing range in the shoulder. You do not need to squeeze your abs hard.
Make sure you stay as light on the wall as possible – the wall should not be doing the work!
Common Mistakes
- Relaxing into the shoulders and sinking down toward the floor
- Squeezing the abs too hard
- Letting the legs or stomach rest on the wall
- Letting the wall take your body weight
Handstand Hold Parallel to Wall
What is it?
A way to bridge the gap between free standing holds and holds on the wall. You can use one foot gently on the wall to correct slight over- and under-balances.
Technique
Kick up to a freestanding handstand next to a wall, with one shoulder near the wall. Let one foot reach out and catch the wall with your foot. Allow that foot to correct small tips in the wrong direction with your balance – it won’t be enough for major deviations from the balance point but it will help if you wobble a little!
Wall Pull Aways (heel pulls)
What is it?
A movement where you pull yourself from a handstand on the wall and briefly leave the wall to hold off the wall. You can either do these for reps falling back to the wall, or do more aggressive pulls to build strength in the fingers that help to prevent overbalancing.
Technique
Kick up to handstand on the wall, placing your fingertips on the ground just over one hand-distance from the wall. Dig your fingertips into the ground hard enough to shift your bodyweight over your hands and allow the heels to gently pull off the wall at the same time. If you can, allow yourself to spend a second or two in that handstand as your heels peel off the wall before returning to the wall. Over time, build the duration up so that you can peel off the wall and hold for several seconds.
Chest to Wall Pull Aways (Toe Pulls)
What is it?
A movement where you drift your bodyweight over your hands from the wall until you are no longer touching the wall. You can use this to practice finding your balance on your hands in a handstand.
Technique
Wall walk, split or cartwheel your way into a wall-facing handstand, with the heel of your hand a little more than one hand-distance from the wall. Shift your shoulders and hips over your hands away from the wall, feeling your toes get light and the amount of pressure on the wall slowly reduce to zero. If you can, allow yourself to spend a second or two in that handstand before returning to the wall. Over time, build the duration up so that you can peel off the wall and hold for several seconds.
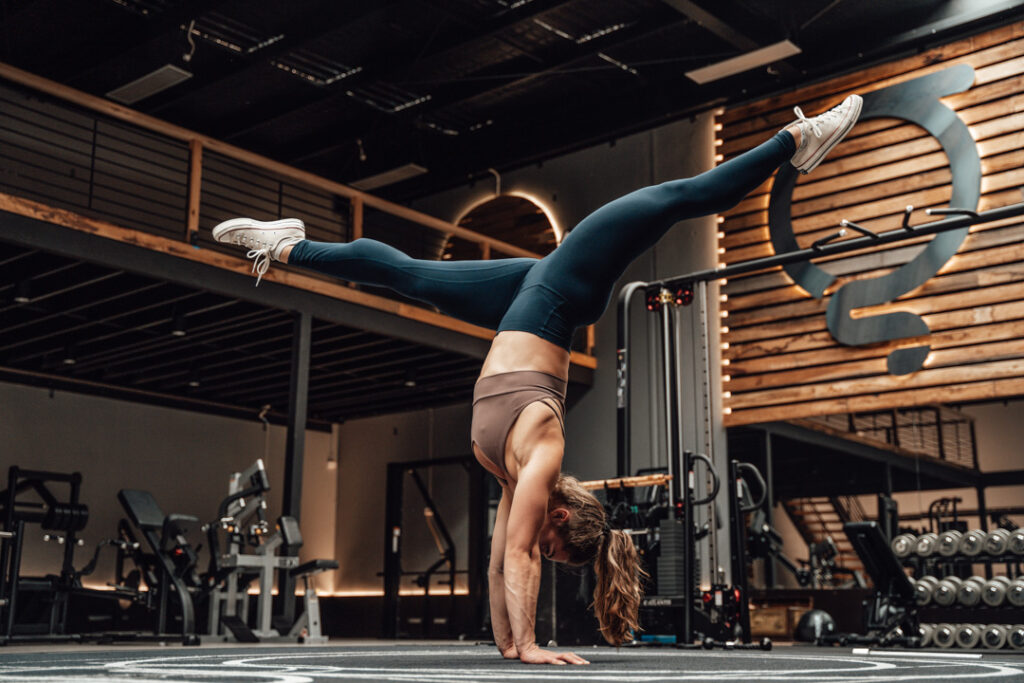
Handstand flutter
What is it?
A movement that allows you to experience brief moments in the handstand while switching the legs to allow for some support from the wall.
Technique
Kick up to a handstand on the wall, a little further away than usual but not far. Separate your legs until you feel the leading leg pull your body weight away from the wall into your hands. Slowly and gently switch which leg is on the wall, letting the legs cross over the middle so there is a brief moment where you are in a handstand.
Common mistakes
- Letting the feet slam into the wall – this should be a gentle switch of the feet
- Letting both feet be on the wall – we are trying to reduce your reliance on the wall with this drill
- Passive hands – you need to grip the ground to make this work
- Letting the low back sag – reach tall like you want your toes to touch the sky
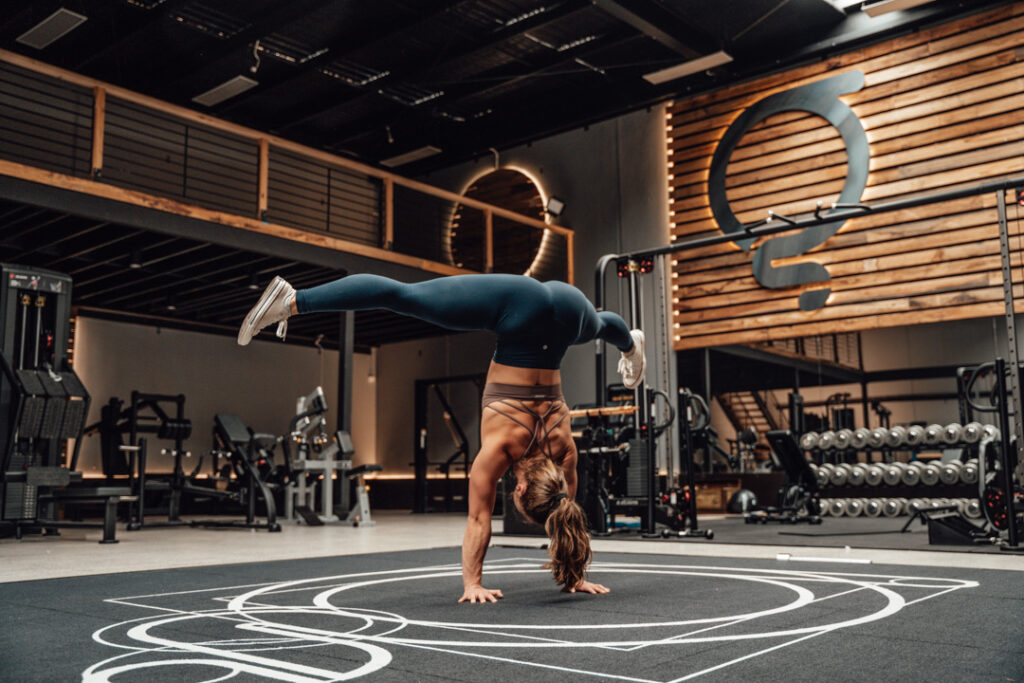
Handstand flutter (chest to wall/wall facing)
What is it?
The same as the above, but facing the wall.
Technique
Wall walk, split or cartwheel your way into a wall-facing handstand, slightly further away from the wall than usual. Shift your shoulders and hips over your hands away from the wall by separating your legs. Slowly and gently switch which leg is on the wall, letting the legs cross over the middle so there is a brief moment where you are in a handstand.
Common mistakes
- Letting the feet slam into the wall – this should be a gentle switch of the feet
- Letting both feet be on the wall – we are trying to reduce your reliance on the wall with this drill
- Passive hands – you need to grip the ground to make this work
- Letting the low back sag – reach tall like you want your toes to touch the sky
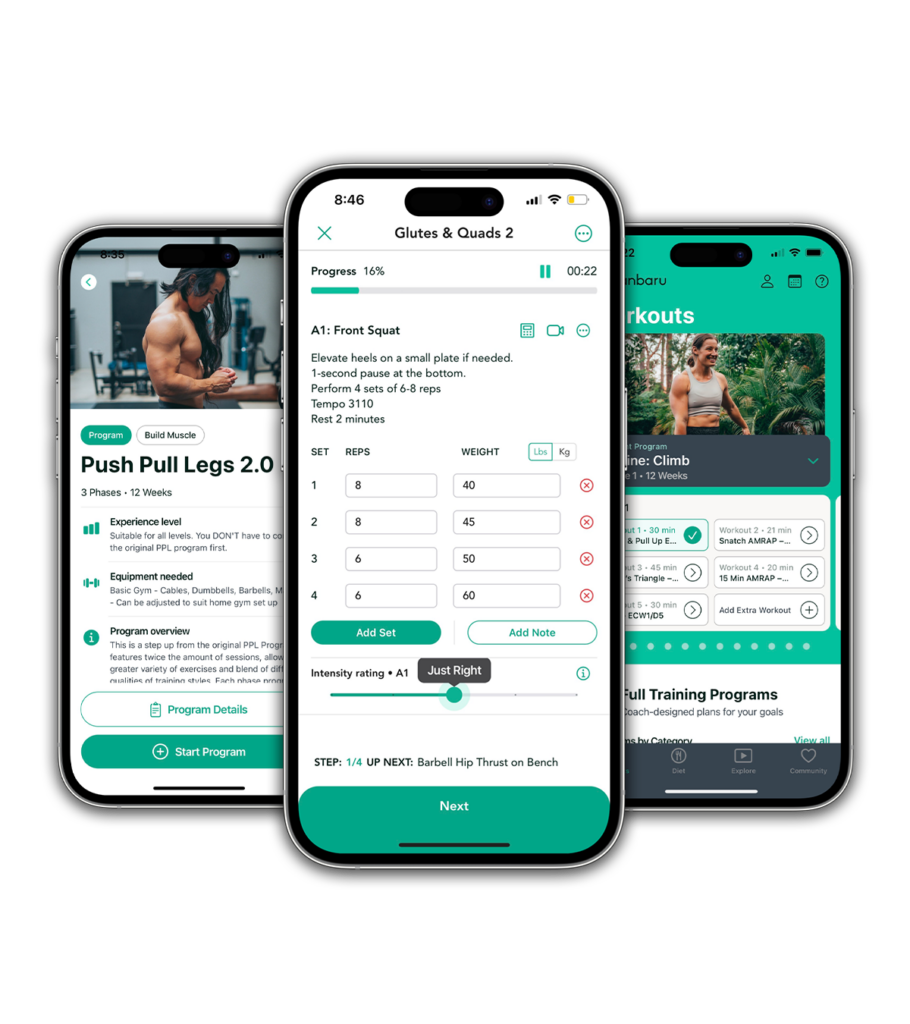
Ready to workout?
Follow proven programs written by expert coaches, delivered in an easy-to-use app built by lifters, for lifters.